After you create a workspace, you’ll want to be able to invite new users.
Roles Able to Invite New Users
By default, only the Primary Owner and Owner are able to invite new users to a workspace.
Using custom roles, any user with the Workspace > Manage Workspace custom role permission will be able to invite new users.
More information about Custom Roles can be found here.
Inviting New Users
Each step below is able to be expanded for more detail.
A screenshot of the sidebar and submenu is below.

If this button does not appear, you are unable to invite new users to your workspace. Check with your workspace’s Primary Owner to make sure have the correct permissions detailed in the section above named Roles Able to Invite New Users.

From this screen, you may enter the email of the person you would like to invite as well as the Roles you would like them to have. A user may have multiple roles.
More details about how roles affect permissions can be found here.
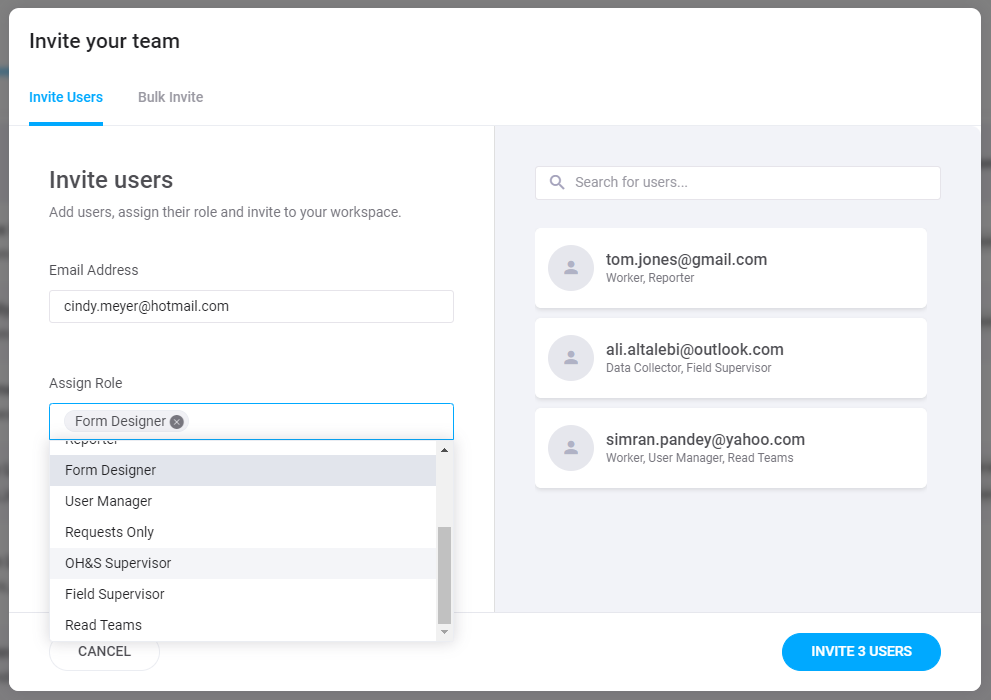
Just click invite and your users will receive their invitations.

You will also see window afterwards showing you how many users you have invited as well as how many seats in your plan you have left.

Each invited user will receive an email which will allow them to accept the invite. They must click 'ACCEPT INVITE' to gain access to the workspace.

Bulk Inviting New Users
Gruntify also supports bulk invites for inviting new users to your workspace. Similar to inviting new users as the above instructions, we can instead use Bulk Invites in the Bulk Invite tab of the User Invite window.

Bulk user invitation allows you to enter multiple emails onto a spreadsheet, upload the spreadsheet and send an invite to large amount of emails address where entering each email individually might become tedious or inefficient. All entered users gain the Controller role and all associated permissions of that role detailed in the Roles Article.
The process follows the image above but is explained in more detail below.
Enter each email onto a new line and save the file when you are done.

The CSV Template can then be uploaded and you will be shown a preview of how many valid users are able to be invited as well as how many have already been invited or are already in the workspace.

Each invited user will receive an email which will allow them to accept the invite. They must click 'ACCEPT INVITE' to gain access to the workspace.